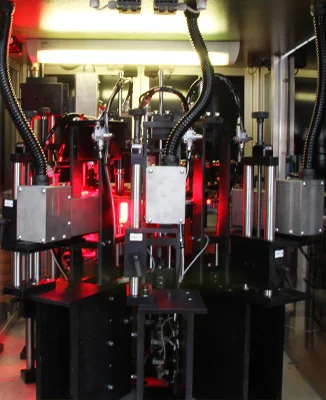
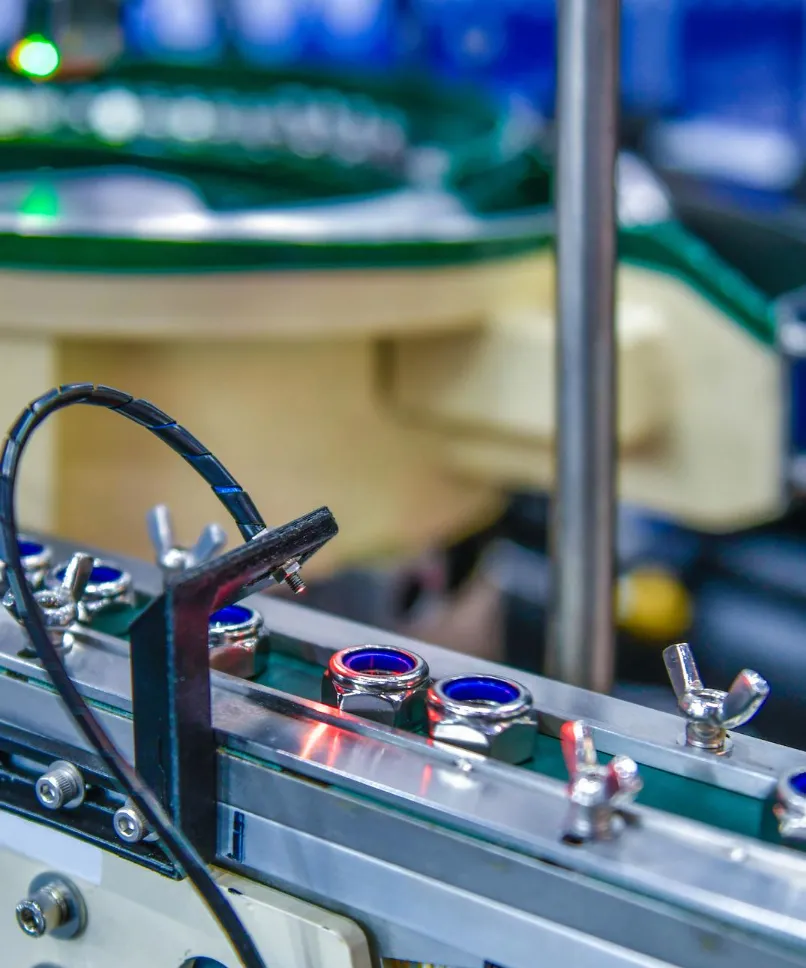
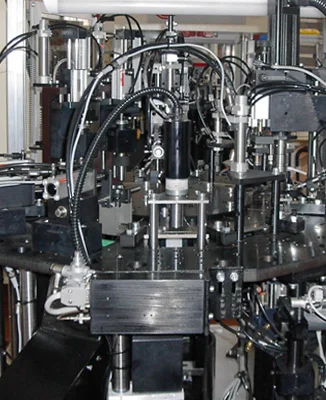
CONTROLS FOR ZERO DEFECTS
tools for diagnosis of flaws and defects on fasteners

Size controls
Trough Optical and Laser Inspection units every kind of dimensional parameter can be checked with tolerances between 1 and 10µm.

Cracks and flaws
The quality controls, through Optical or Eddy Currents inspection units, allow to spot on each piece the smallest defect capable of compromising hardness and functionality

Functionality tests
The sorting machines can be equipped with special units designed to phisically check the actual functionality of the mechanical component
Size Control


The tolerance control and dimensional conformity are the first requirements to boast high-quality productions in the fasteners industry. Champs provides machines able to carry out compliance inspections on any dimensional parameter required by the customer on its pieces.
The checking stations for dimensional parameters mounted on our machines are:
- Optical controls through Bi-telecentric Cameras.
With optical controls is possible to check every dimensional measure of every single piece with tolerances of ± 10 µm - Controls with Laser Caliper
We can evaluate specific parameters such as depth and recess with tolerances of ± 1 µm - 2D and 3D Laser controls
The 2D and 3D laser controls are used in special applications where it is necessary to assess the proper configuration of the piece as a whole.
Cracks and flows


The quality controls are carried out through:
- Optical inspections with bi-telecentric and pericentric cameras and optics
Optical inspections allow the detection, with high accuracy, of cracks, scratches, dents, and burrs with a measurable precision in the order of 10 micrometers. - Eddy Current Testing Devices.
Eddy Current inspections are used to carry out with extreme precision the Crack Detection and the Hardness Testing. This type of inspection makes it possible to detect defects as small as a few thousandths of a millimeter, even in hard-to-reach areas. - Natural Frequency Analysis Devices
These are used where it is necessary to identify internal microfractures or weak points in cases where optical inspection cannot ensure the integrity of the part.
The main quality inspections that can be performed on a part are:
- Crack detection (under-head, radial, longitudinal, etc.)
- Hardness testing
- Burr detection
- Dent detection
- Coating quality inspection (galvanic treatment, zinc plating, chrome plating)
- Detection of irregularities or double threading
- Integrity inspection of the part
- Straightness inspection of the shank
Functionality Testing


Among the most common mechanical inspections are:
- Recess Depth Test with Mechanical Gauge
This is carried out to check the dimensions and quality of the threading in parts with tapped holes. - Thread Inspection Test with Torque Measurement
It is mainly used to verify tapped holes and is also used to “clean” them from excess surface coating. - Mechanical Functionality Test
Applied where it is necessary to check the operation of a specific component. - Integrated Assembly Stations
Optional stations for inline assembly of composite parts and their inspection either upstream or downstream of the assembly station.
The main mechanical inspections that can be performed on a part are:
- Recess depth inspection
- Torque inspection
- Internal thread quality inspection
- Mechanical functionality inspection
